
Burningman 2022:
Waking Dreams
Arising PhoenixBuilding a PhoenixHome
|
Building 2
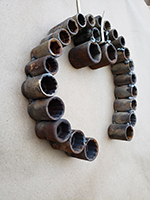
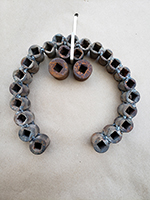
More welding of rings, more sorting. This is getting good; I can't wait to see what it looks like when it's done.previous | next
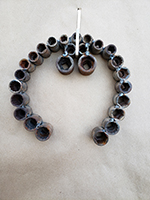 Ring #1 welded. [orig. huge image] |
[orig. huge image] |
[orig. huge image] |
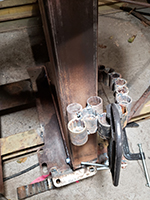
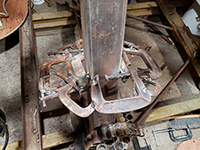
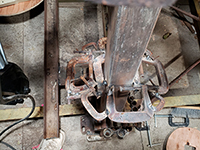
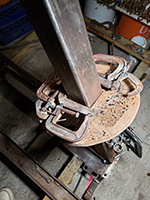 To attach the rings to the support pole, I re attached the wood disk, layed the ring on it, tacked it in place, then removed the wooden disk. It was easier to get the rings in the right place and jigged up for welding this way. [orig. huge image] |
[orig. huge image] |

[orig. huge image] |

[orig. huge image] |
[orig. huge image] |
[orig. huge image] |
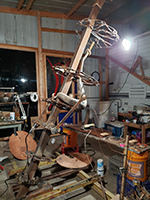
 When collecting burnt up stuff in Paradise, I found this piece of a motorcycle exhaust system and knoew it was destined to be the esophagus and stomach of the phoenix. As soon as I put a few rings in place I tried out places to put it. [orig. huge image] |
[orig. huge image] |
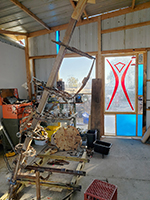 This pick head fit so perfectly and gave the outthrust shape I wanted for the stomach/breast area. It also became the type of tool I used along the centerline of the body from tail to head. [orig. huge image] |

[orig. huge image] |
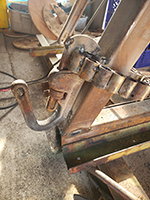 To form the spine, I decided to use Pipe Wrenches. I found a lot of them - who doesn't have a matched set or two in their tool collection? - and they would add a lot of strength to the back. [orig. huge image] |
 Since the tail of the bird was going to bend back up where it hits the ground, I started the spine with a wrench that we forged into a "U" shape to connect to when I finally get around to designing the tail. [orig. huge image] |
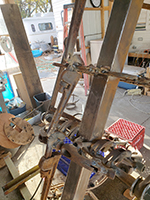
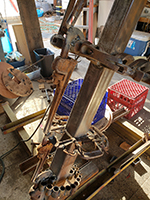 Each pipe wrench has it's tail end resting on the previous wrench all the way up to the head. [orig. huge image] |
[orig. huge image] |
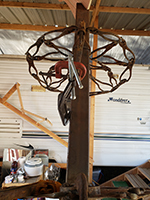
[orig. huge image] |

[orig. huge image] |
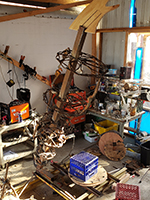
[orig. huge image] |
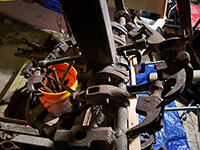 Ring 3. [orig. huge image] |
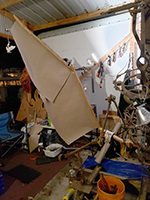
 Designing the wings in wood low down on the support post so I'm not working on a ladder already. [orig. huge image] |
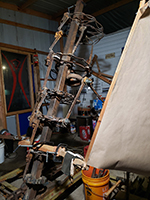
[orig. huge image] |
[orig. huge image] |
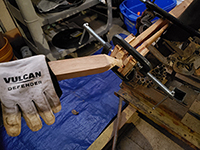 Close up of a ball an socket joint I made to allow realistic shoulder motion. [orig. huge image] |
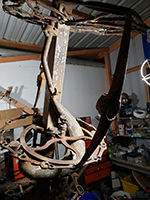
[orig. huge image] |

[orig. huge image] |
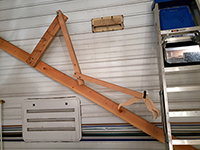 Leg prototype made in wood. [orig. huge image] |
 Leg structture made in wrenches. [orig. huge image] |

[orig. huge image] |
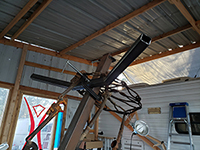 Testing placement of some new steel pipe I'll be using as the shoulders that the rest of the wings can be plugged into. [orig. huge image] |

[orig. huge image] |
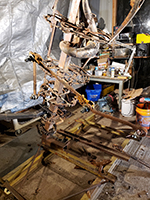
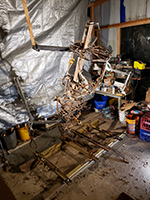 I made a second exact copy of the shoulder so I can plug the wings into the same kind of socket down at a more reachable height saving a lot of ladder work. [orig. huge image] |

[orig. huge image] |

[orig. huge image] |
[orig. huge image] |
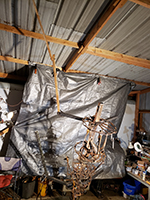
 Wooden test wing plugged into the upper wing socket. [orig. huge image] |

[orig. huge image] |
[orig. huge image] |

[orig. huge image] |